How to Compare Two Excel Sheets and Flag Differences
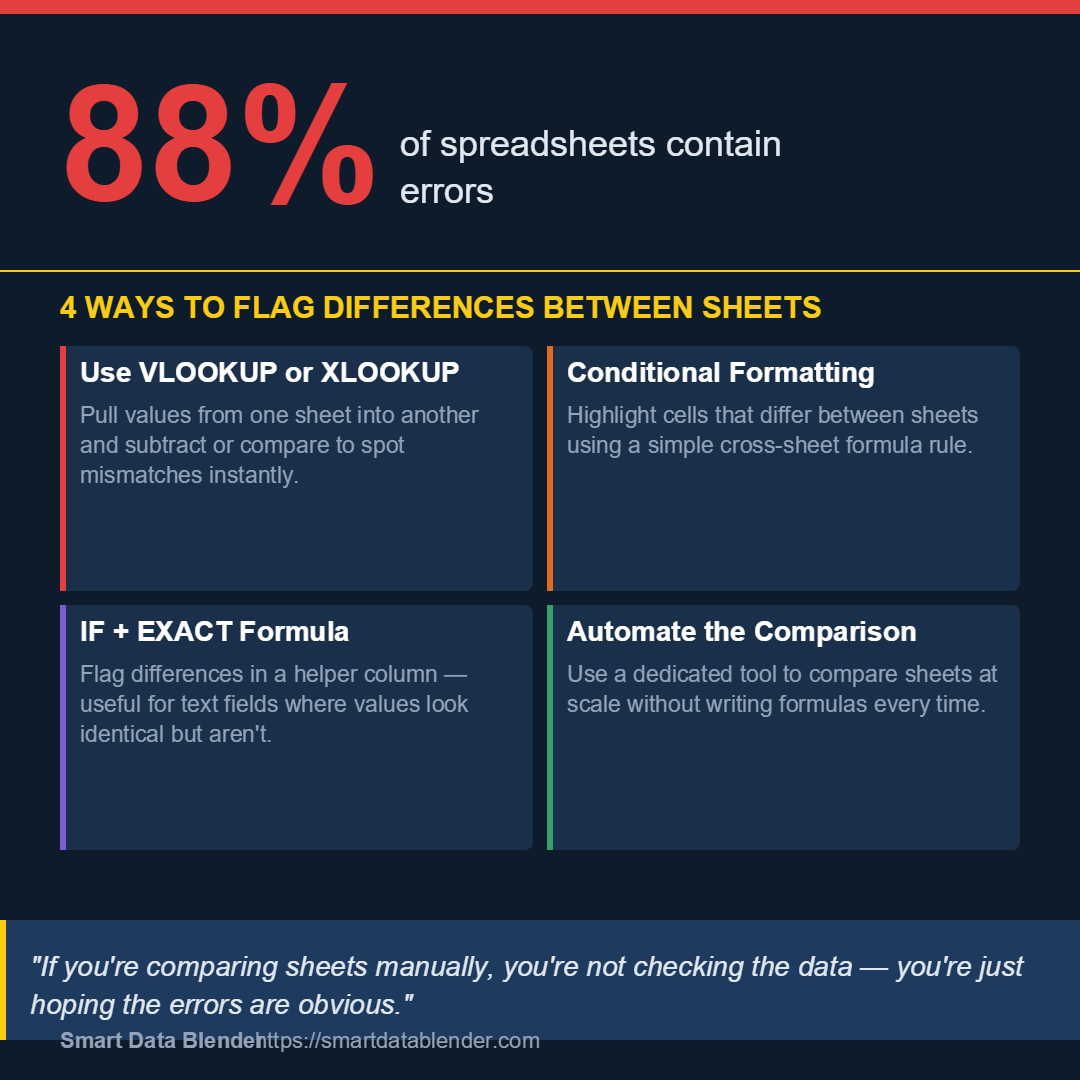
The problem with comparing two Excel sheets
You've got two versions of the same spreadsheet — maybe one came from a colleague, one from a system export — and they should match. But you suspect they don't. Now you need to find out where they differ, quickly, without opening both files and squinting at rows side by side.
This is one of the most common and most frustrating Excel tasks. Do it wrong and you'll miss differences. Do it manually and you'll waste an hour you don't have. Here's how to do it properly.
Before you start: make sure the sheets are comparable
Comparisons fail before they begin if the data isn't structured consistently. Check these first:
- Are the columns in the same order? If not, comparing column A to column A will give you nonsense results.
- Are the unique identifiers consistent? You need a shared key — an order number, employee ID, or product code — to match rows between sheets.
- Are the formats the same? "01/04/2024" and "1 April 2024" are the same date, but Excel won't treat them that way. Numbers stored as text are another common trap.
Fix these issues first, or every method below will throw false positives.
Method 1: Use a formula to pull and compare values
If both sheets share a unique ID column, use XLOOKUP (or VLOOKUP for older versions of Excel) to pull the equivalent value from Sheet 2 into Sheet 1, then subtract or compare them directly.
Example: You have order totals in Sheet 1 and Sheet 2, both keyed by Order ID in column A. In Sheet 1, add a helper column with this formula:
=XLOOKUP(A2, Sheet2!A:A, Sheet2!C:C) - C2A result of 0 means the values match. Anything else is a discrepancy. Filter on non-zero values and you've got your differences list immediately.
For text fields — names, statuses, categories — use EXACT inside an IF statement instead:
=IF(EXACT(C2, XLOOKUP(A2, Sheet2!A:A, Sheet2!C:C)), "Match", "Difference")EXACT is case-sensitive, which matters more than you'd think. "Approved" and "approved" will otherwise appear identical.
Method 2: Conditional formatting to highlight differences visually
If you want a visual overview rather than a helper column, conditional formatting is quicker to set up — though less precise for large datasets.
- Select the range you want to check in Sheet 1 (e.g.
C2:C500). - Go to Home → Conditional Formatting → New Rule.
- Choose "Use a formula to determine which cells to format".
- Enter a cross-sheet formula, for example:
=C2<>Sheet2!C2 - Set a highlight colour (red or amber works well) and click OK.
Every cell that differs from its counterpart in Sheet 2 will be highlighted. This works well when the rows are in exactly the same order. If they're not — if Sheet 2 has been sorted differently — you'll get a wall of false flags.
Method 3: Create a summary of all differences
Rather than scanning highlighted cells, it's often more useful to extract a clean list of differences. This is especially helpful when you need to share findings or investigate specific records.
Use a helper column (as in Method 1) to flag every differing row with a label like "Difference". Then:
- Add a filter to your data.
- Filter the helper column to show only rows flagged as "Difference".
- Copy the visible rows to a new sheet.
Now you have a clean exceptions list — just the rows that need attention. You can share this directly with whoever needs to investigate or correct the data.
Method 4: Use Excel's built-in Inquire tool
If you're on Microsoft 365 or Office Professional Plus, Excel includes an add-in called Inquire that can compare two workbooks directly.
- Go to File → Options → Add-ins.
- Select COM Add-ins from the Manage dropdown and click Go.
- Tick Inquire and click OK. A new Inquire tab will appear.
- Click Compare Files, select your two workbooks, and let it run.
The results panel shows differences by type — values, formulas, formatting — colour-coded by category. It's thorough, but it compares workbooks cell by cell rather than matching on a key, so it's most reliable when the structure of both files is identical.
Common mistakes that cause comparisons to fail
- Extra spaces in cells — "Smith " and "Smith" look the same but won't match. Use
TRIM()to clean both datasets before comparing. - Numbers stored as text — A cell showing "1024" might be text in one sheet and a number in another. Use
VALUE()to convert before comparing numeric fields. - Different date formats — Standardise dates to a single format using
TEXT()or reformat both columns before running your comparison. - Merged cells — These break formulas. Unmerge before you start.
- Comparing different row counts — If Sheet 2 has records Sheet 1 doesn't (or vice versa), XLOOKUP will return errors for unmatched IDs. Wrap your formula in
IFERROR()to handle this gracefully.
When Excel formulas aren't enough
For a one-off comparison between two tidy files, the methods above work well. But if you're doing this regularly — comparing exports from two systems every week, reconciling datasets across departments, or checking files with thousands of rows — writing and maintaining these formulas quickly becomes its own problem.
At that scale, a comparison that should take ten minutes starts taking an hour, and mistakes creep in not because the data is messy but because the process is. If that sounds familiar, Smart Data Blender is built for exactly this — letting you define comparison logic once and run it repeatedly without rebuilding formulas from scratch each time.
A quick checklist before you run any comparison
- Both sheets have a consistent unique identifier column
- Column names and orders are aligned (or you've accounted for differences)
- Text has been trimmed, dates standardised, number formats matched
- You know what a "difference" means for each field (exact match, tolerance, case-sensitive?)
- You have a plan for what to do with the exceptions list once you have it
Get these right and the comparison itself is straightforward. Skip them and you'll spend more time debugging your formula than you would have spent doing the comparison by hand.
Tired of doing this by hand?
Smart Data Blender does it automatically, in one click. Free trial, no card needed.
Try Smart Data Blender free